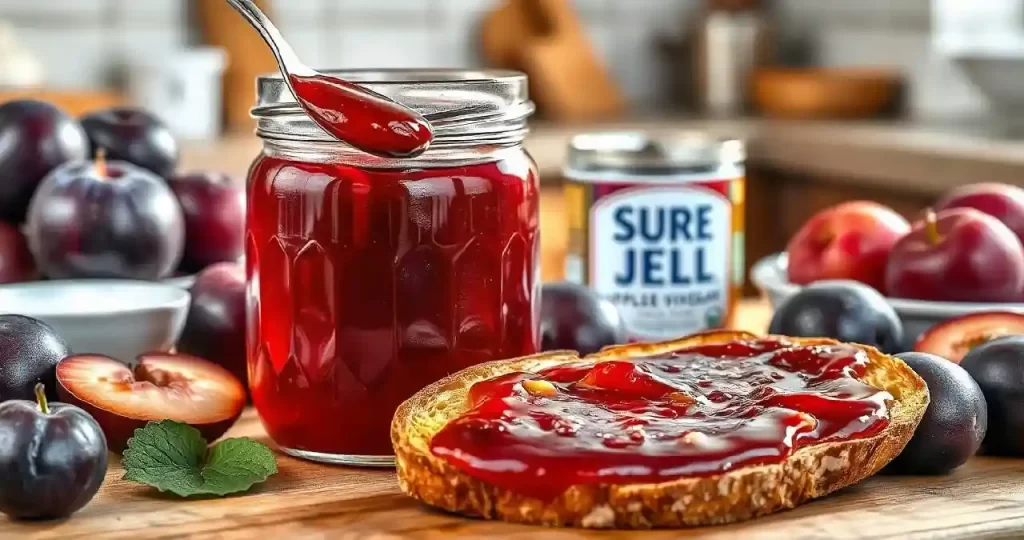
Delicious Sure Jell Cherry Jam Recipe For Fresh Summer Flavour
What’s on your mind today?
I’ve got a fresh idea to make your mood also fresh. What’s it if making a delicious, savory-flavored jam recipe today? It’s an immense culinary experience. Whenever I tried to make jam, I found an extra charm in my soul because of its preserves. It is surprising if preserved perfectly, and this only happened with Sure Jell pectin. So how can you get so? Let’s find out.
Cherry was a popular fruit that emerged in this culinary world because of its awesome texture, flavour, colour and aroma. But it is boring to eat raw cherries daily, they can be also preserved by making a homemade jam or jelly. Let’s know how to make sure jell cherry jam recipe with a few ingredients by following some simple steps.
Let’s Start With Required Ingredients!
Gather all ingredients as mentioned below:
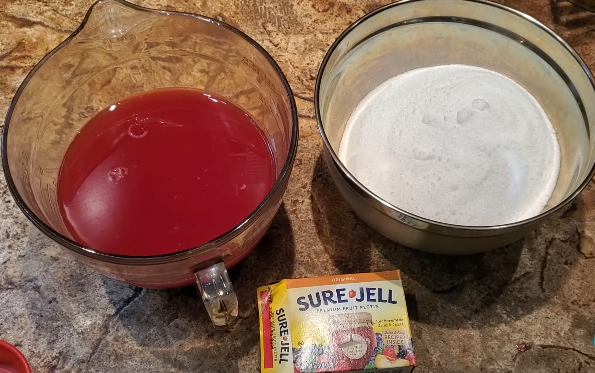
Ingredients
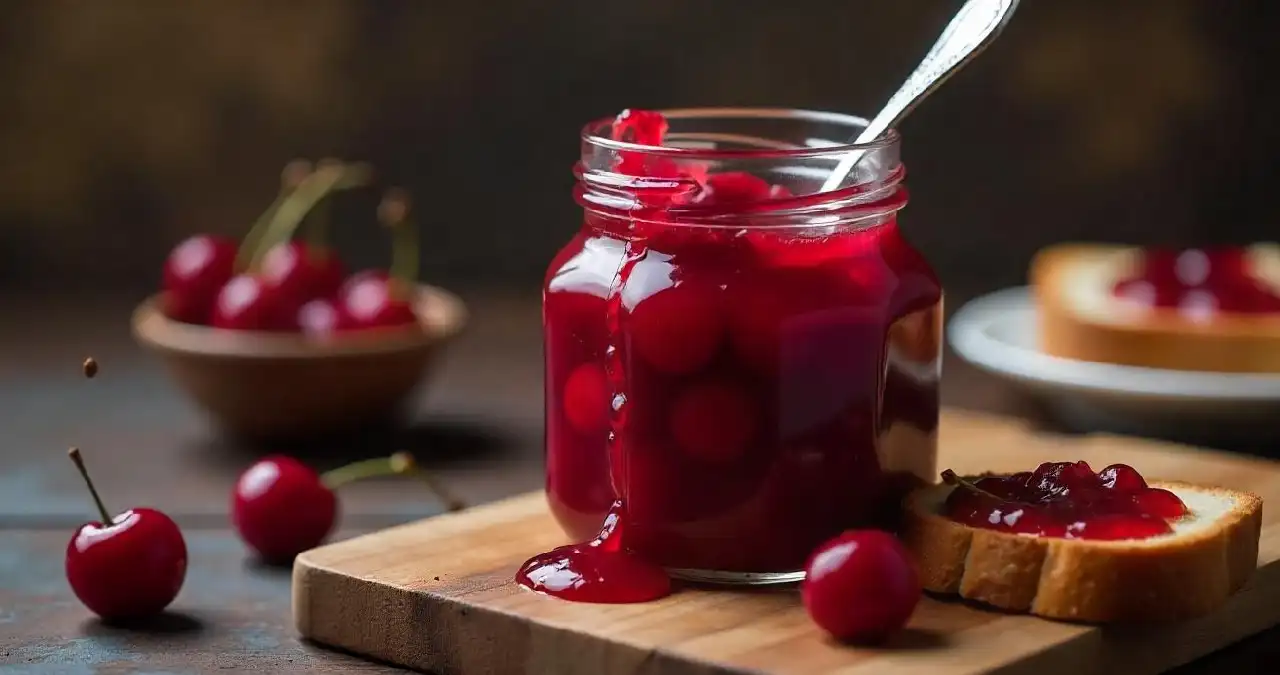
- 2 cups fresh or frozen cherries,
- 1 cup granulated sugar
- Sure jell pectin
- Water
- 1 tablespoon lemon juice
- Butter (Optional)
Complete Your Sterilization!
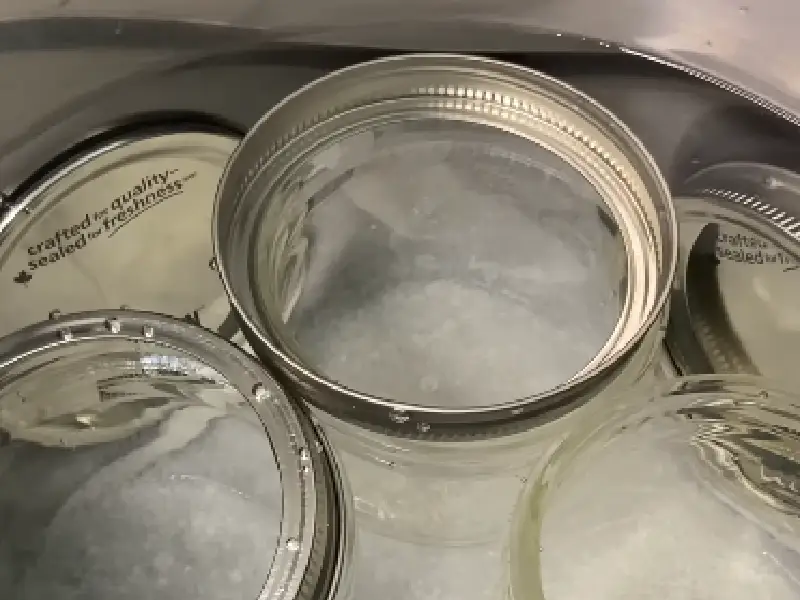
Before completing the sterilization one of the most competent steps that makes your process quite easy and time-saver. The jars should be ready for your upcoming remedy. Let’s process.
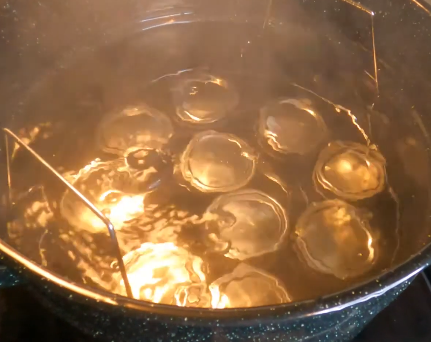
- Gather all jars, lids, and rings together. In a boiling water bowl, add all of them and process around 5-8 minutes. Place them front-down on a towel and let the water drain.
Step-By-Step Process
Now start the procedure:
Step – 1
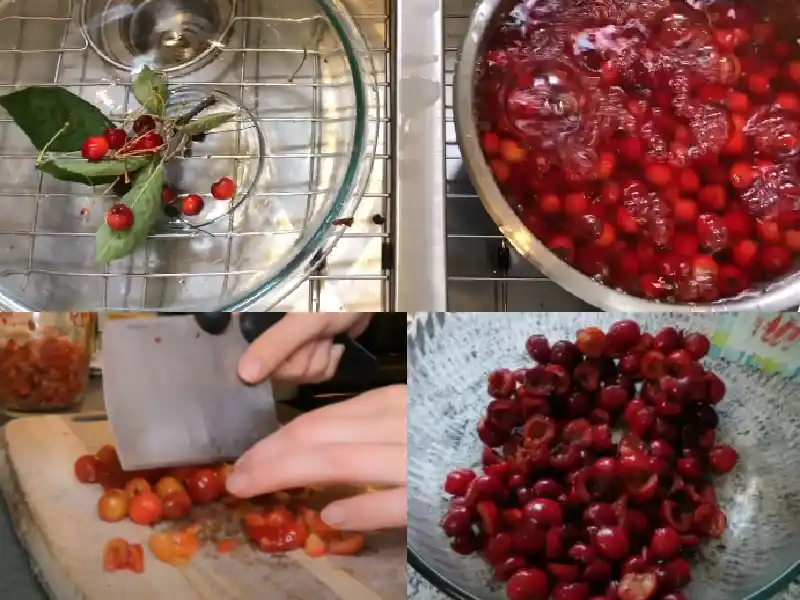
Take ripe cherries approximately 2-3 cups. Tear off all the leaves and stems. Wash them well. Drain the water. Cut them all into small pieces and place them in a separate bowl.
Step – 2
In a large pot, combine the cherries with a small quantity of water.
Add sugar and lemon juice. Bring the mixture to a boil over high heat, stirring occasionally.
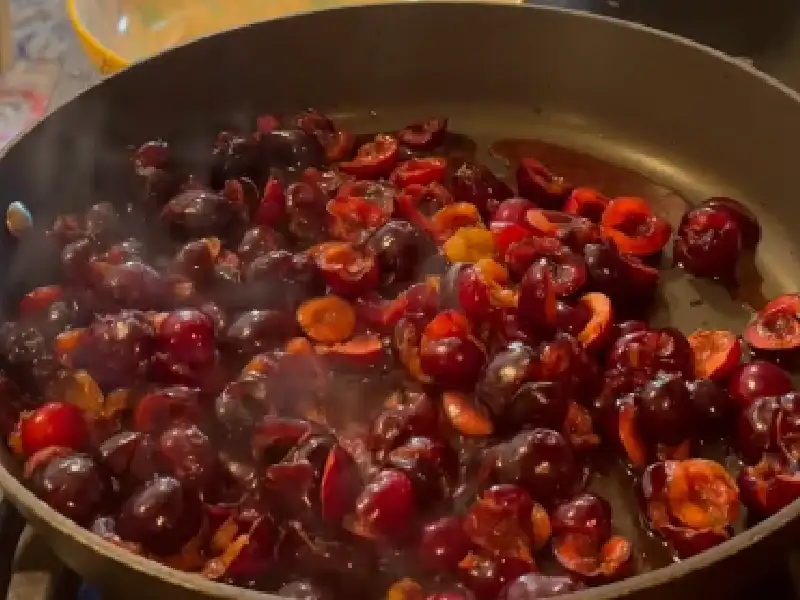
Reduce the heat to medium-low and simmer for about 10-15 minutes, or until the cherries have broken down and the mixture has thickened.
Step – 3
Use a masher or a blender to crush the cherries and release their natural juice.
Step – 4
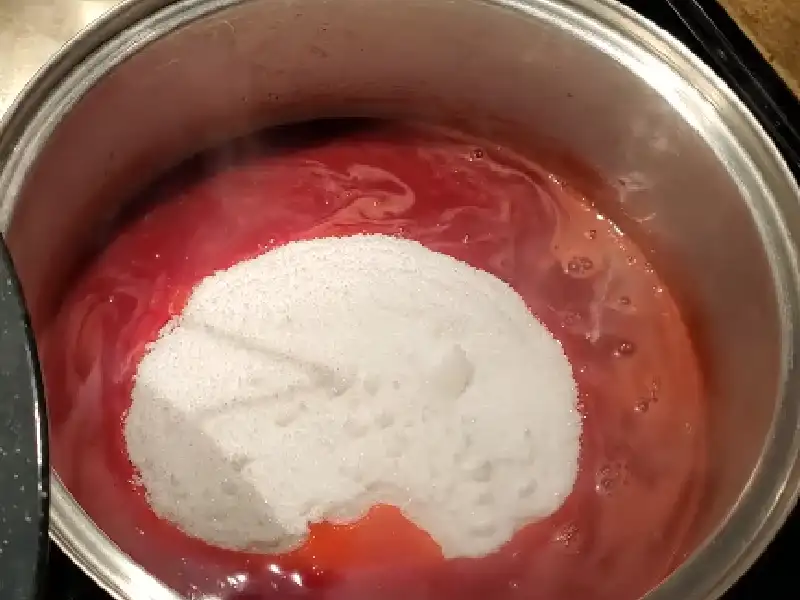
Add the pectin to the cherry mixture and stir well.
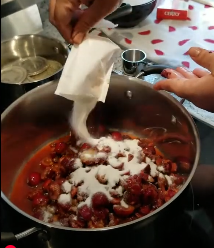
Step – 5
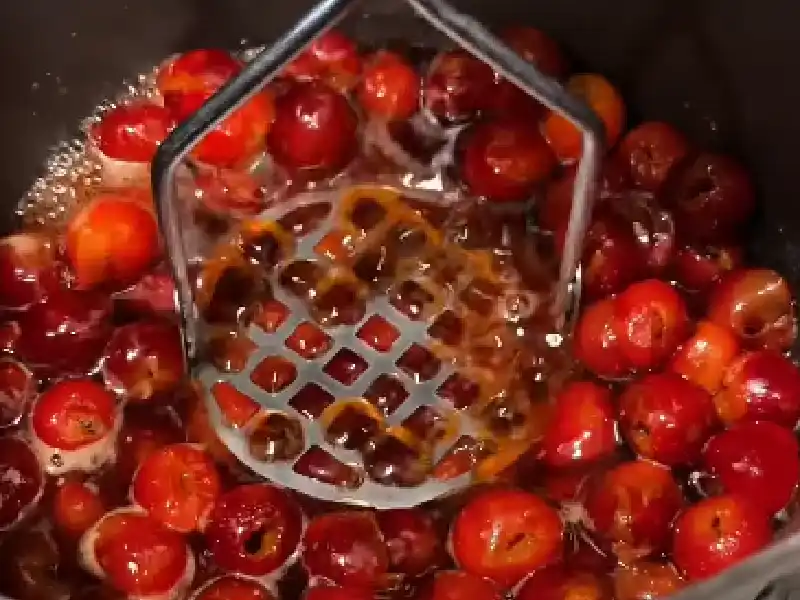
Continue to simmer the mixture for another 5-10 minutes, or until the jam has thickened. Add a butter piece to reduce foam.
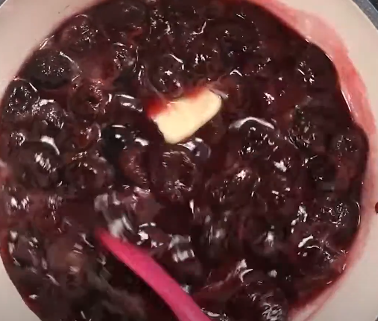
Remove the pot from the heat and let the jam cool slightly.
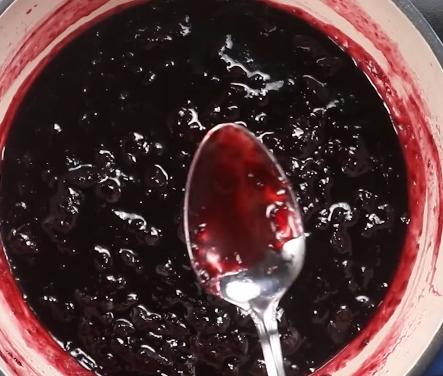
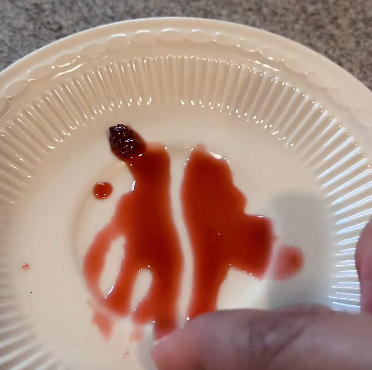
Step – 6
Place a small spoonful of the jam on a chilled plate. Let it cool to room temperature. Gently push the jam with your finger. If the jam wrinkles, it’s ready. If not, continue to simmer and test again.
Step – 7
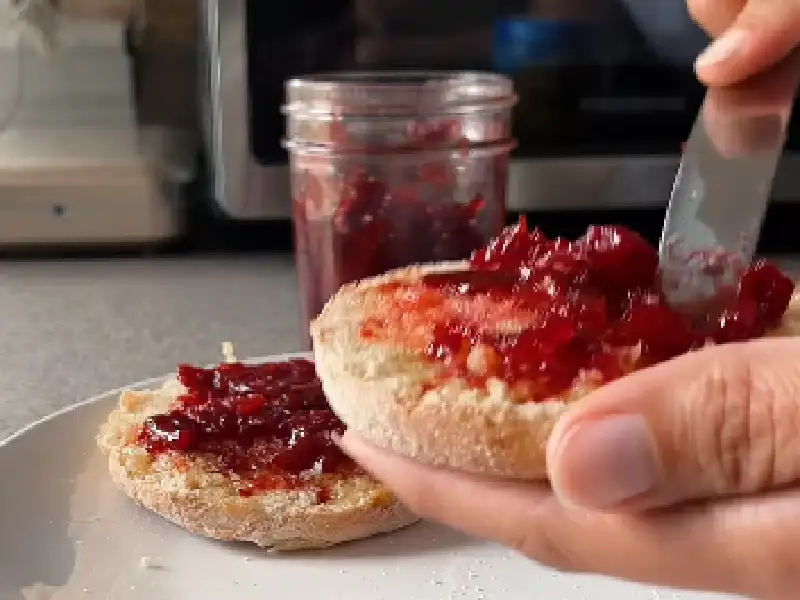
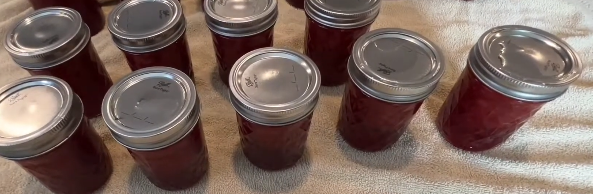
Ladle the jam into clean, sterilized jars, leaving about 1/4 inch of headspace. Wipe the rims with a clean, damp cloth and apply the lids.
Step – 8
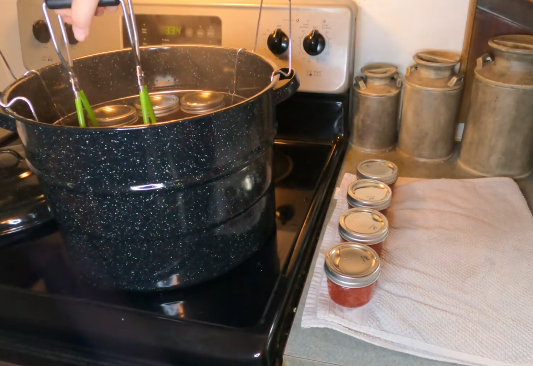
Process the jars in a boiling water bath for 5-10 minutes to ensure the jam is properly sterilized and sealed.
After 5-10 minutes, remove the jars gradually with a jar holder and place them in a clean towel.
Tips for Achieving the Right Consistency
- Monitor the jam’s temperature: Use a candy thermometer to check the jam’s temperature. The ideal temperature for cherry jam is between 217°F and 220°F.
- Don’t overcook: Cherry jam can quickly become too thick and sticky. Stir frequently and remove from heat when the jam has reached the preferred consistency.
- Add pectin wisely: Use the recommended amount of powdered pectin, and mix it with water before adding it to the jam. This helps prevent lumps and ensures the pectin dissolves evenly.
[Troubleshooting Common Issues: If the Jam is too runny, simmer the jam for a longer period or add a little more pectin. If the jam is too thick, Add a small amount of water or lemon juice to thin the jam. If the jam is not cooked enough or if it’s stored in a cold environment, try reheating the jam or storing it in a warmer place.]
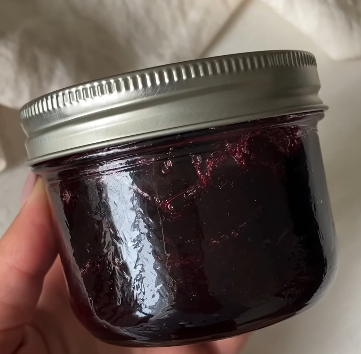
Enjoy your homemade sure jell cherry jam recipe on toast, curd, or as a filling for cakes and pastries!
Related Posts
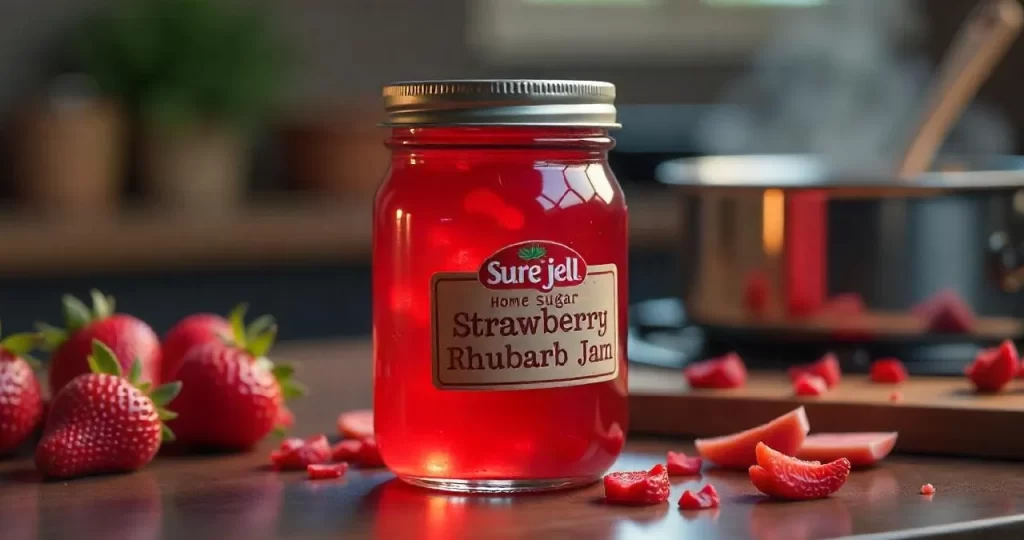
Make Sure Jell Low Sugar Strawberry Rhubarb Jam Recipe: 14 Proven Steps
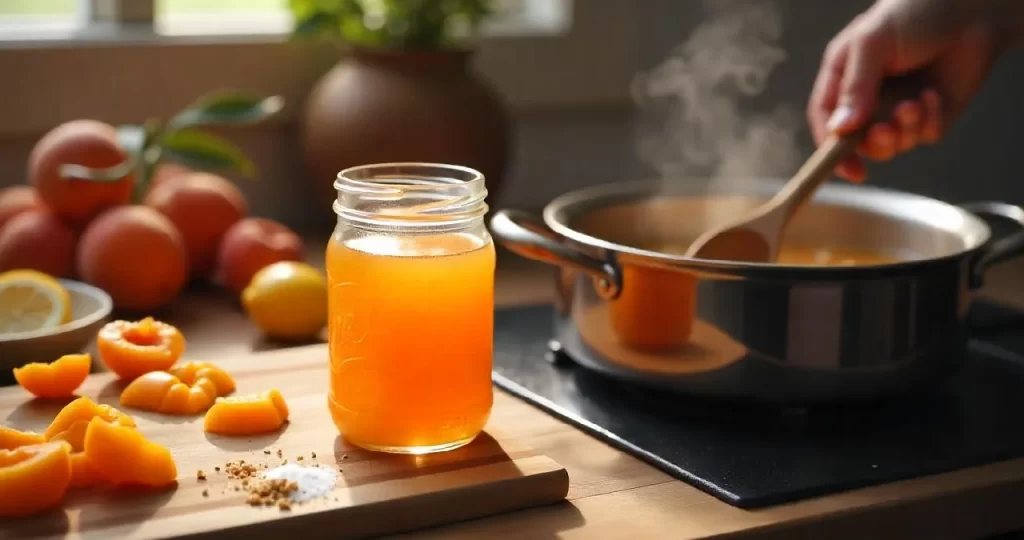
A Comprehensive Tutorial To Sure Jell Apricot Jam Recipe